Microalgae Cultivation: Fuelling the Future of Aquaculture / Supporting Healthy Marine Larvae
At the Aquaculture Department, we cultivate a wide variety of microalgae species in our containerized hatchery. Though microscopic in size, microalgae are fundamental to marine life, contributing to oxygen production, carbon cycling, and nutrient sequestration while supporting the overall health and productivity of marine ecosystems.
Currently, we cultivate up to 14 different species, each carefully selected to provide essential nutrition for marine larvae. Our microalgae form the foundation of the aquaculture food chain and play a critical role in supporting healthy growth and development in hatchery-reared organisms.
Cultivated cultures are used to feed sea urchin larvae, sea cucumber larvae, and rotifers, which are themselves a crucial food source for fish larvae. By maintaining high-quality microalgae cultures, we help ensure optimal nutrition throughout the early stages of life in marine hatchery systems.
Two Main Types of Microalgae
Diatoms
Diatoms generally grow on surfaces and are especially useful when larvae are ready to settle. Their structure and growth habit make them ideal for later developmental stages.
Non-Diatoms
Non-diatoms are free-floating and are ideal for the planktonic stage of larvae, when they are actively swimming in the water column and require suspended food particles.
How the Cultivation Process Works
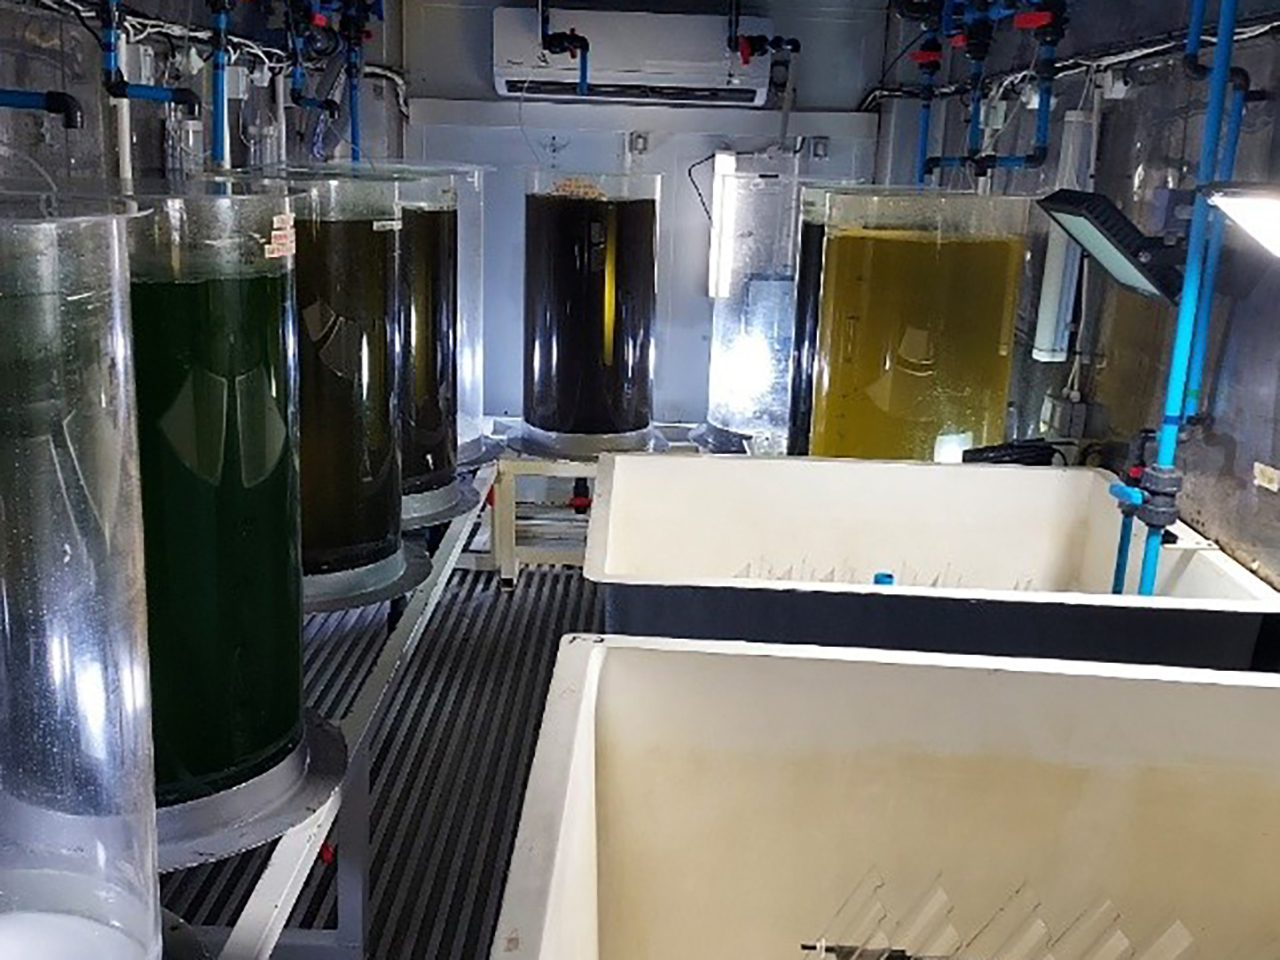
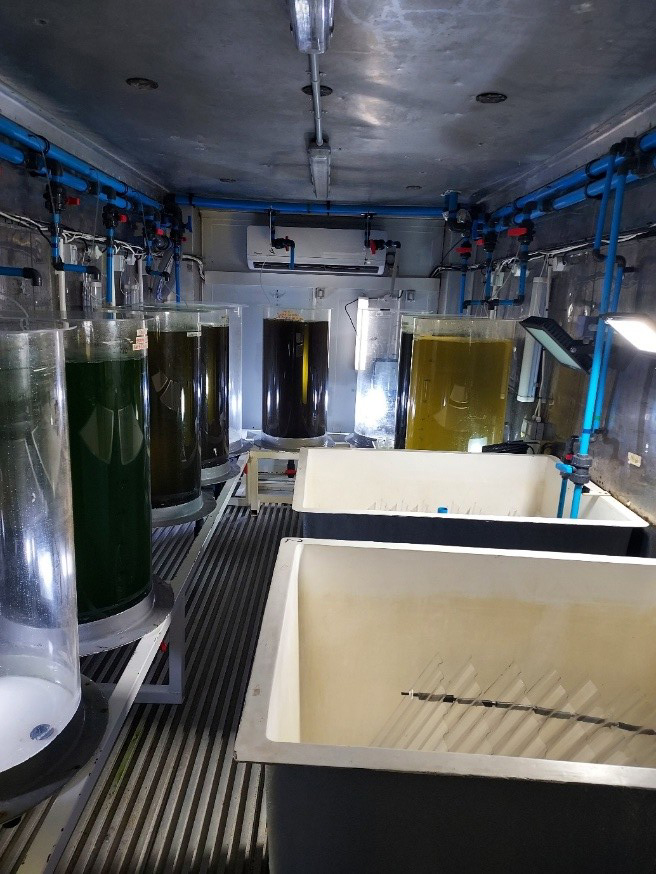
Microalgae are cultivated in a range of containers, including bottles, flasks, carboys, and cylinders. The process begins with a small, non-aerated plastic bottle from our stock culture. Water and nutrients are added, and once the culture reaches sufficient density, it is progressively upscaled into larger containers.
In many cases, cultures are also split. This means a portion of the culture is poured into a second container, and both are topped up with water to either the original or a newly desired level. This allows healthy cultures to be expanded while maintaining consistent productivity.
Upscaling typically progresses step by step from 500ml bottles to 1 litre bottles, then to 5 litre flasks, 10 litre carboys, and eventually to 200 litre cylinders. Throughout this process, the cultures are carefully monitored and fertilized weekly to maintain ideal growth conditions, including light exposure, temperature, and nutrient levels.
Microalgae Cultivation Stages
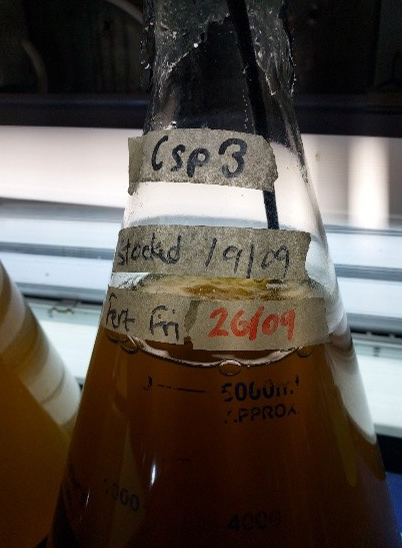
500ml Bottle
Microalgae are stocked in 500ml bottles and may be kept on air or off air. Each week, they can be topped up with water, fertilized, split into another 500ml bottle, or transferred into a 1 litre bottle if the culture is dense enough.
1 Litre Bottle
Once transferred, the same process continues: water and fertilizer are added, then the culture may be split into another bottle and topped up again. When the microalgae reach sufficient density, they are transferred to a 5 litre flask.
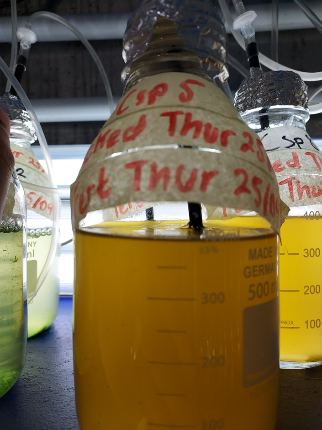
5 Litre Flask
In the 5 litre flask stage, water is added according to the density of the culture. Fertilizer is then applied based on the volume present. For example, if the flask is filled to 3 litres, 3ml of fertilizer is added. If the water level remains below 5 litres, it can be topped up weekly until the full 5 litre level is reached and fertilized accordingly.
Once the culture becomes dense enough, it is transferred into a carboy.
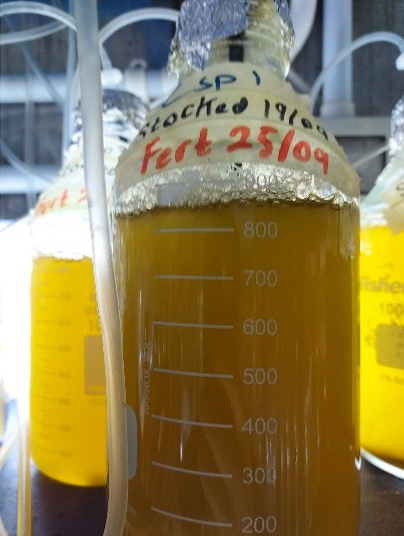
10 Litre Carboy
After transfer into the carboy, water is added up to 10 litres and fertilized accordingly. At this stage, the culture can continue to be fertilized weekly or split into additional carboys. Once the microalgae become sufficiently dense, they can be transferred into a 200 litre cylinder.
More than one carboy may be used to inoculate a single cylinder.
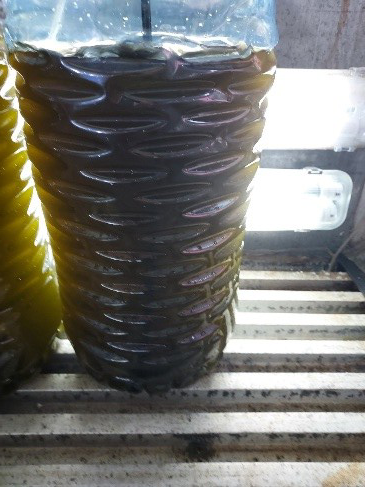
200 Litre Cylinder
Before microalgae are introduced, the cylinder is filled to the required level and the water is sterilized using bleach and sodium thiosulfate. Once the culture is added, the cylinder is typically filled to about 180 litres and then fertilized.
The cylinders are fertilized weekly to increase algal density. If a culture becomes too dense, half can be transferred into another cylinder, and both cylinders are topped up to the maximum volume of 180 litres.
In most cases, the cylinder culture is used for feeding, although carboys may also be used if the microalgae are dense enough. Before feeding, a cell count is performed to estimate how many cells are present per millilitre of water in relation to the number of larvae being reared.
Supporting Sustainable Aquaculture
Through careful cultivation and ongoing monitoring, our hatchery supports sustainable aquaculture practices by producing high-quality, nutritious microalgae cultures. These efforts strengthen our marine farming programs and contribute to the future of sustainable seafood production.